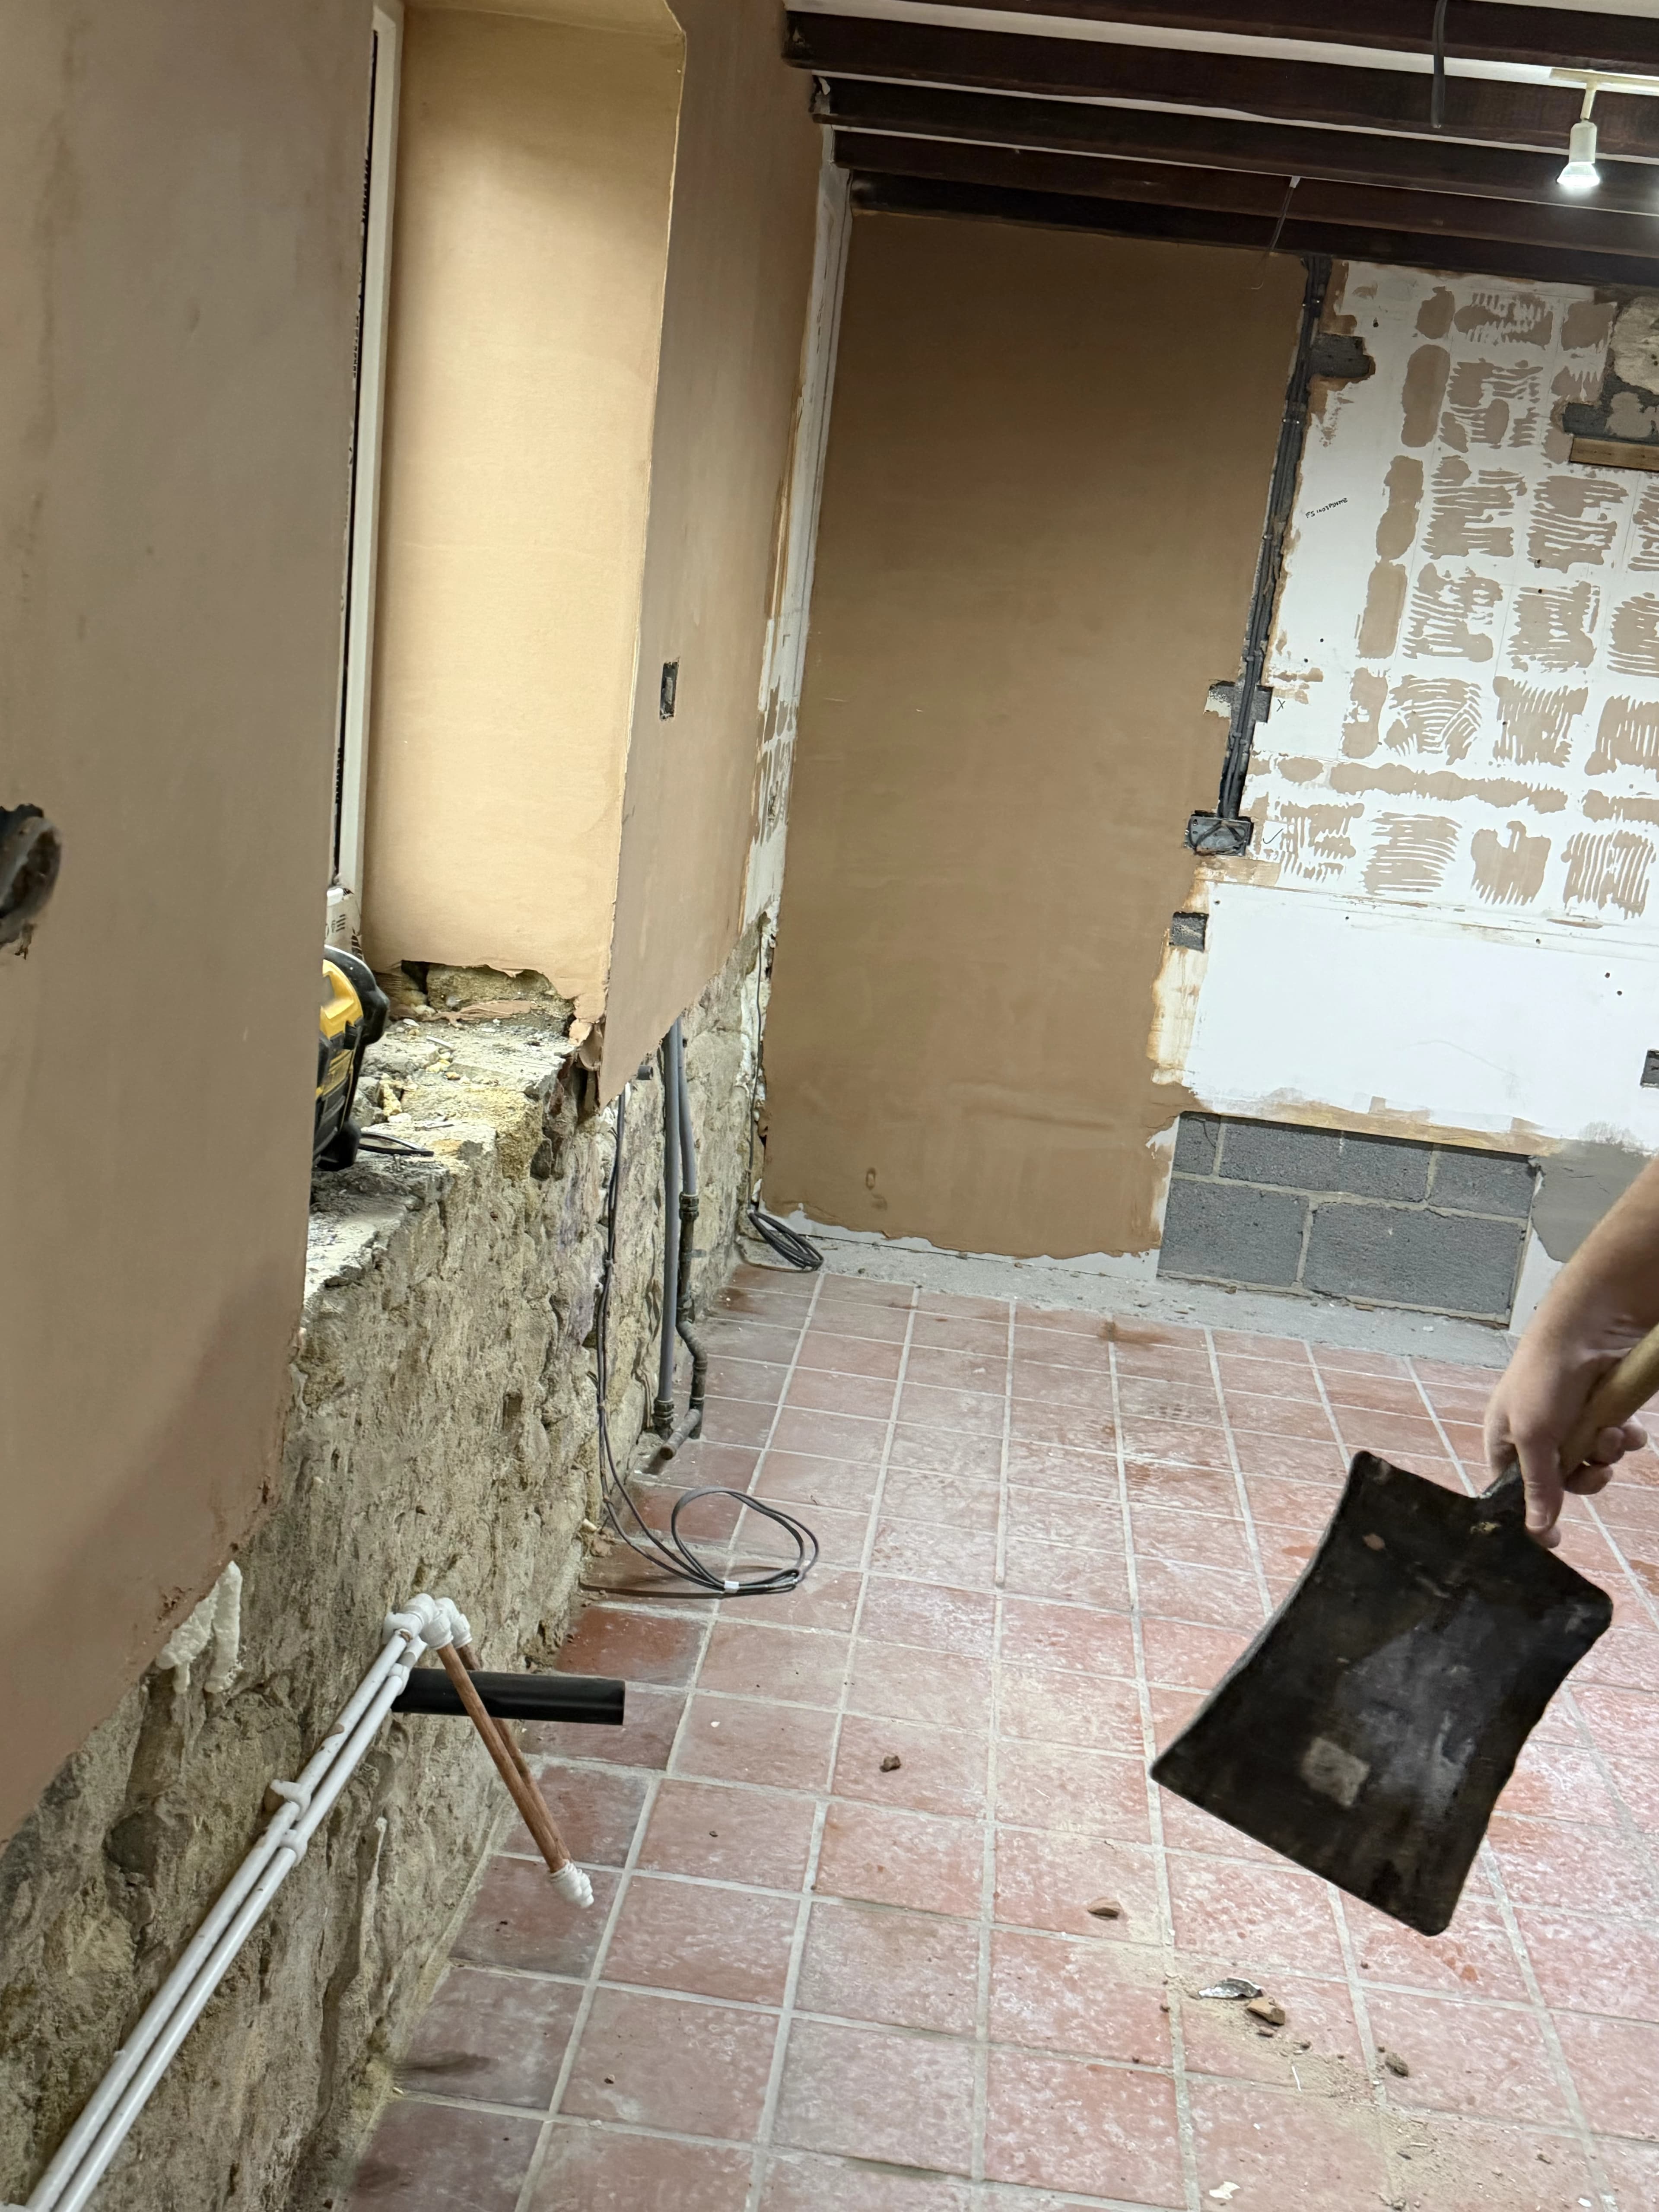
Getting your home ready before the plasterer arrives might seem obvious, but you'd be surprised how often we turn up to a job and spend the first hour or two doing prep that the homeowner could have easily handled the night before. A little bit of effort on your part can save time, reduce costs, and help the job run smoothly from start to finish. If you're still deciding what type of plastering you need, our guide on plaster vs plasterboard will help you understand the options.
Here's a practical checklist of everything you need to do.
Clear the Room as Much as Possible
This is the single most important thing you can do. Plastering is a messy job, and there's no getting around it. Wet plaster drips, splashes, and gets everywhere. The more furniture and belongings you can remove from the room, the faster we can work and the less risk there is of damage to your things.
Ideally, the room should be completely empty. If that's not possible (perhaps you have a heavy piece of furniture that can't be moved), push everything to the centre of the room and leave at least a metre of clear space around all walls. We'll cover anything that remains with dust sheets, but prevention is always better than protection.
Don't Forget the Small Things
Remove curtains and blinds, take pictures and mirrors off the walls, unhook wall-mounted shelves, and take down any light fittings that are in the way (or let us know and we'll work around them). The fewer obstacles there are, the cleaner and faster the job will be.
Protect Your Floors
We always lay our own dust sheets, but it helps enormously if you can cover your flooring before we arrive, especially if you have carpet. Plaster that gets ground into carpet fibres is a nightmare to clean out. If you have spare dust sheets, old bedsheets, or even cardboard, lay them down the night before.
For hard floors (laminate, tile, engineered wood), a layer of cardboard topped with a dust sheet is ideal. It protects against both splashes and the occasional dropped tool. If you're having multiple rooms done, protect the hallway and stairs too, as that's where most of the foot traffic happens.
Sort Out Access and Parking
We'll be carrying plaster, boards, buckets, and tools in and out throughout the day. Make sure there's a clear path from the front door (or whichever entrance we're using) to the room being worked on. Move shoes, coats, and anything else that's cluttering the hallway.
If parking is limited on your street, let us know in advance so we can plan. We need to be reasonably close to the property. Lugging 25kg bags of plaster from three streets away is no fun for anyone.
Strip Old Wallpaper First
If your walls are currently wallpapered and you're having them re-plastered, the paper needs to come off before we start. We can do this for you, but it's a time-consuming job that you can easily do yourself with a wallpaper steamer (available from any hire shop for about fifteen pounds a day) and a scraper.
Stripping wallpaper yourself can save you several hours of labour charges. Score the paper with a wallpaper scorer first, then apply steam in sections and scrape while it's hot. Don't worry about getting every last scrap off (we'll deal with any stubborn bits), but the bulk of it should be removed.
Turn Off the Heating
This catches a lot of people out. If your central heating is on, the radiators will dry the plaster too quickly and cause it to crack. We need the plaster to dry slowly and naturally for the best finish. Turn your heating off the day before we arrive, and keep it off for at least 48 hours after we finish.
In winter, this can be uncomfortable, and we understand that. But it's essential for a good result. If you need to take the chill off, a portable fan heater in an adjacent room (not the one being plastered) is fine.
Check for Damp Before Plastering
Before investing in fresh plaster, it's worth checking whether your walls have any underlying damp issues. Plastering over damp walls without treating the cause first means your new plaster could blow within months. Look for the warning signs of rising damp, such as tide marks, salt deposits, or musty smells. If damp is present, it needs to be treated with a proper DPC installation before any plastering begins.
Make Sure We Have Access to Water
Plaster needs to be mixed with clean water, and we use a lot of it. We'll need access to a tap, usually the kitchen sink, throughout the day. We'll also need to wash our tools regularly, so a utility sink or outside tap is a bonus but not essential.
Don't worry about the mess. We carry our own buckets and always clean up after ourselves. Your kitchen will be left the way we found it.
What to Expect on the Day
A typical room takes one day to plaster and needs 24-48 hours to dry before painting. Here's a rough timeline of what to expect:
- Morning. We'll arrive, set up, and prepare the walls, including PVA application, beading around windows and corners, and any repair work needed.
- Midday. First coat goes on. This is the messy part. We'll apply the base coat or scratch coat, depending on the method being used.
- Afternoon. The finishing skim coat goes on. This is where the skill really shows, as creating that smooth, flat finish takes experience and timing.
- End of day. We'll trowel up the finish, clean up, and brief you on drying times and when you can start decorating.
Want to see the quality of finish we deliver? Take a look at our recent plastering projects across the North East. For more detail on the full plastering process and different techniques, our plastering guide is a good resource.
After We Leave
Once the plaster is on, resist the urge to touch it or test whether it's dry. Fresh plaster goes through several colour changes as it dries, shifting from dark brown to a uniform pale pink. Only when the entire surface is an even, light colour is it ready for decoration. This usually takes 2-5 days depending on the room's ventilation and the time of year.
When you're ready to paint, apply a mist coat first: emulsion paint watered down 50/50. This seals the plaster and gives your topcoats something to grip. Never use vinyl silk or contract matt straight onto fresh plaster, as it can peel.